
Master Long Exposure
I love this subject, its one of my favourite things to do as a photographer. It’s not everyone’s cup of tea but I love the different types of images you can produce using this technique.
Long exposure photography is a technique where the camera’s shutter is left open for an extended period, allowing more light to hit the camera sensor. This technique captures the passage of time in a single image, creating effects that are not visible to the naked eye.

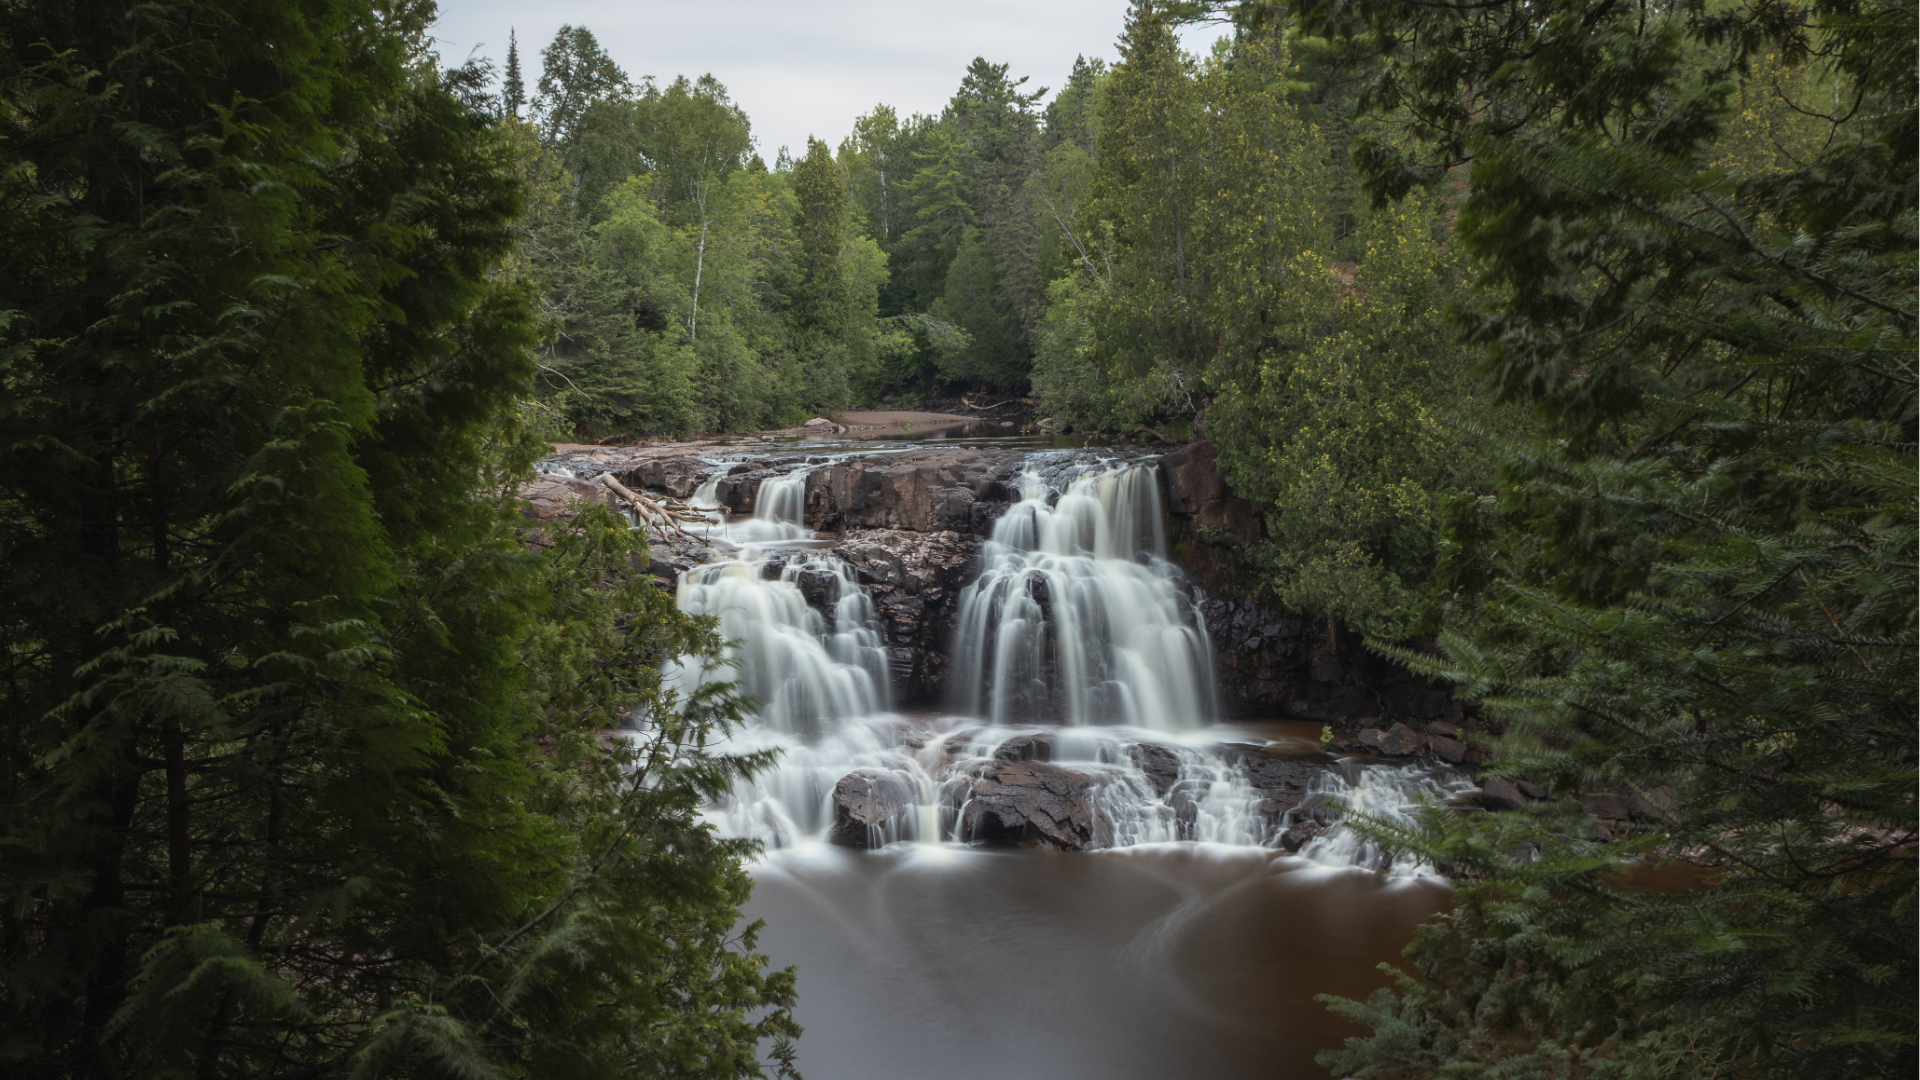

All three images above are examples of long exposure photography. Light trails at night (1), smooth dreamy waterfall effect (2), smooth glass like water effect (3).
Key Concepts of Long Exposure Photography
Shutter Speed: The core of long exposure photography is using a slow shutter speed. This can range from a few seconds to several minutes or even hours. The longer the shutter is open, the more movement is captured.

Example image
Stationary subjects remain unchanged regardless of the shutter speed, subjects in motion start to reveal more movement as the exposure time increases.
Motion Blur: Moving elements in the scene, such as water, clouds, or traffic, will appear blurred, creating a sense of motion. For example, waves can look like a smooth, misty surface, and clouds can appear as streaks across the sky.
Stationary Subjects: Objects that remain still during the exposure will appear sharp and in focus, providing a contrast to the blurred moving elements.
Tripod: To keep the camera steady and avoid unwanted blur, a tripod is essential. This ensures that only the moving elements are blurred while the stationary parts remain sharp.

The Tripod
is an absolute essential accessory for long exposure photography. It will keep your camera rock-steady throughout those extended exposures.
Neutral Density (ND) Filters: These filters are like sunglasses for your camera which help reduce the amount of light entering the lens, allowing for longer exposure times even in bright conditions. They are particularly useful for daytime long exposures.

ND Filter
By using a ND filter, you can lengthen your shutter speed without overexposing the image. So you can capture those amazing long exposures even in broad daylight or during sunrise and sunset.
ND filters come in various strengths, measured in stops. The higher the number of stops, the darker the filter, and the longer the exposure you can achieve. The most common strengths include 3-stop, 6-stop, and 10-stop filters.
How to capture long exposure photos
Pick your desired location.
Gear - you will need a sturdy tripod, camera, ND filter, Remote trigger (optional)
Compose the image - take a couple of test shots to make sure you have the framing of your subject correct.
Now it’s time to choose your camera settings. First, set your camera to Manual (M) mode and your ISO to your camera’s lowest native value (probably ISO 50, ISO 100, or ISO 200).
Then set the aperture, for landscapes and seascapes I would recommend between f/8 and f/11), pick the shutter speed based on your camera’s recommendation, and take a test shot.
Use the histogram to determine whether you have the correct exposure. The test is complete when you get a correct exposure.
Make a note of the shutter speed you used for that image, then move on to the next step.
Add filter (if required) and calculate shutter speed.
You now need to determine the perfect shutter speed by completing the following -
Remember the shutter speed that you noted down from the test shot you took. Now you must adjust the shutter speed to compensate for the number of stops introduced by the filter.
For example, if your test shot was 1/15s and you’re using a 10-stop filter, you’ll need to decrease the shutter speed by 10 stops, for a shutter speed of approximately 1 minute.
Conversion table

Free Exposure calculator
Finally, take your photo!

Tollesbury Light vessel